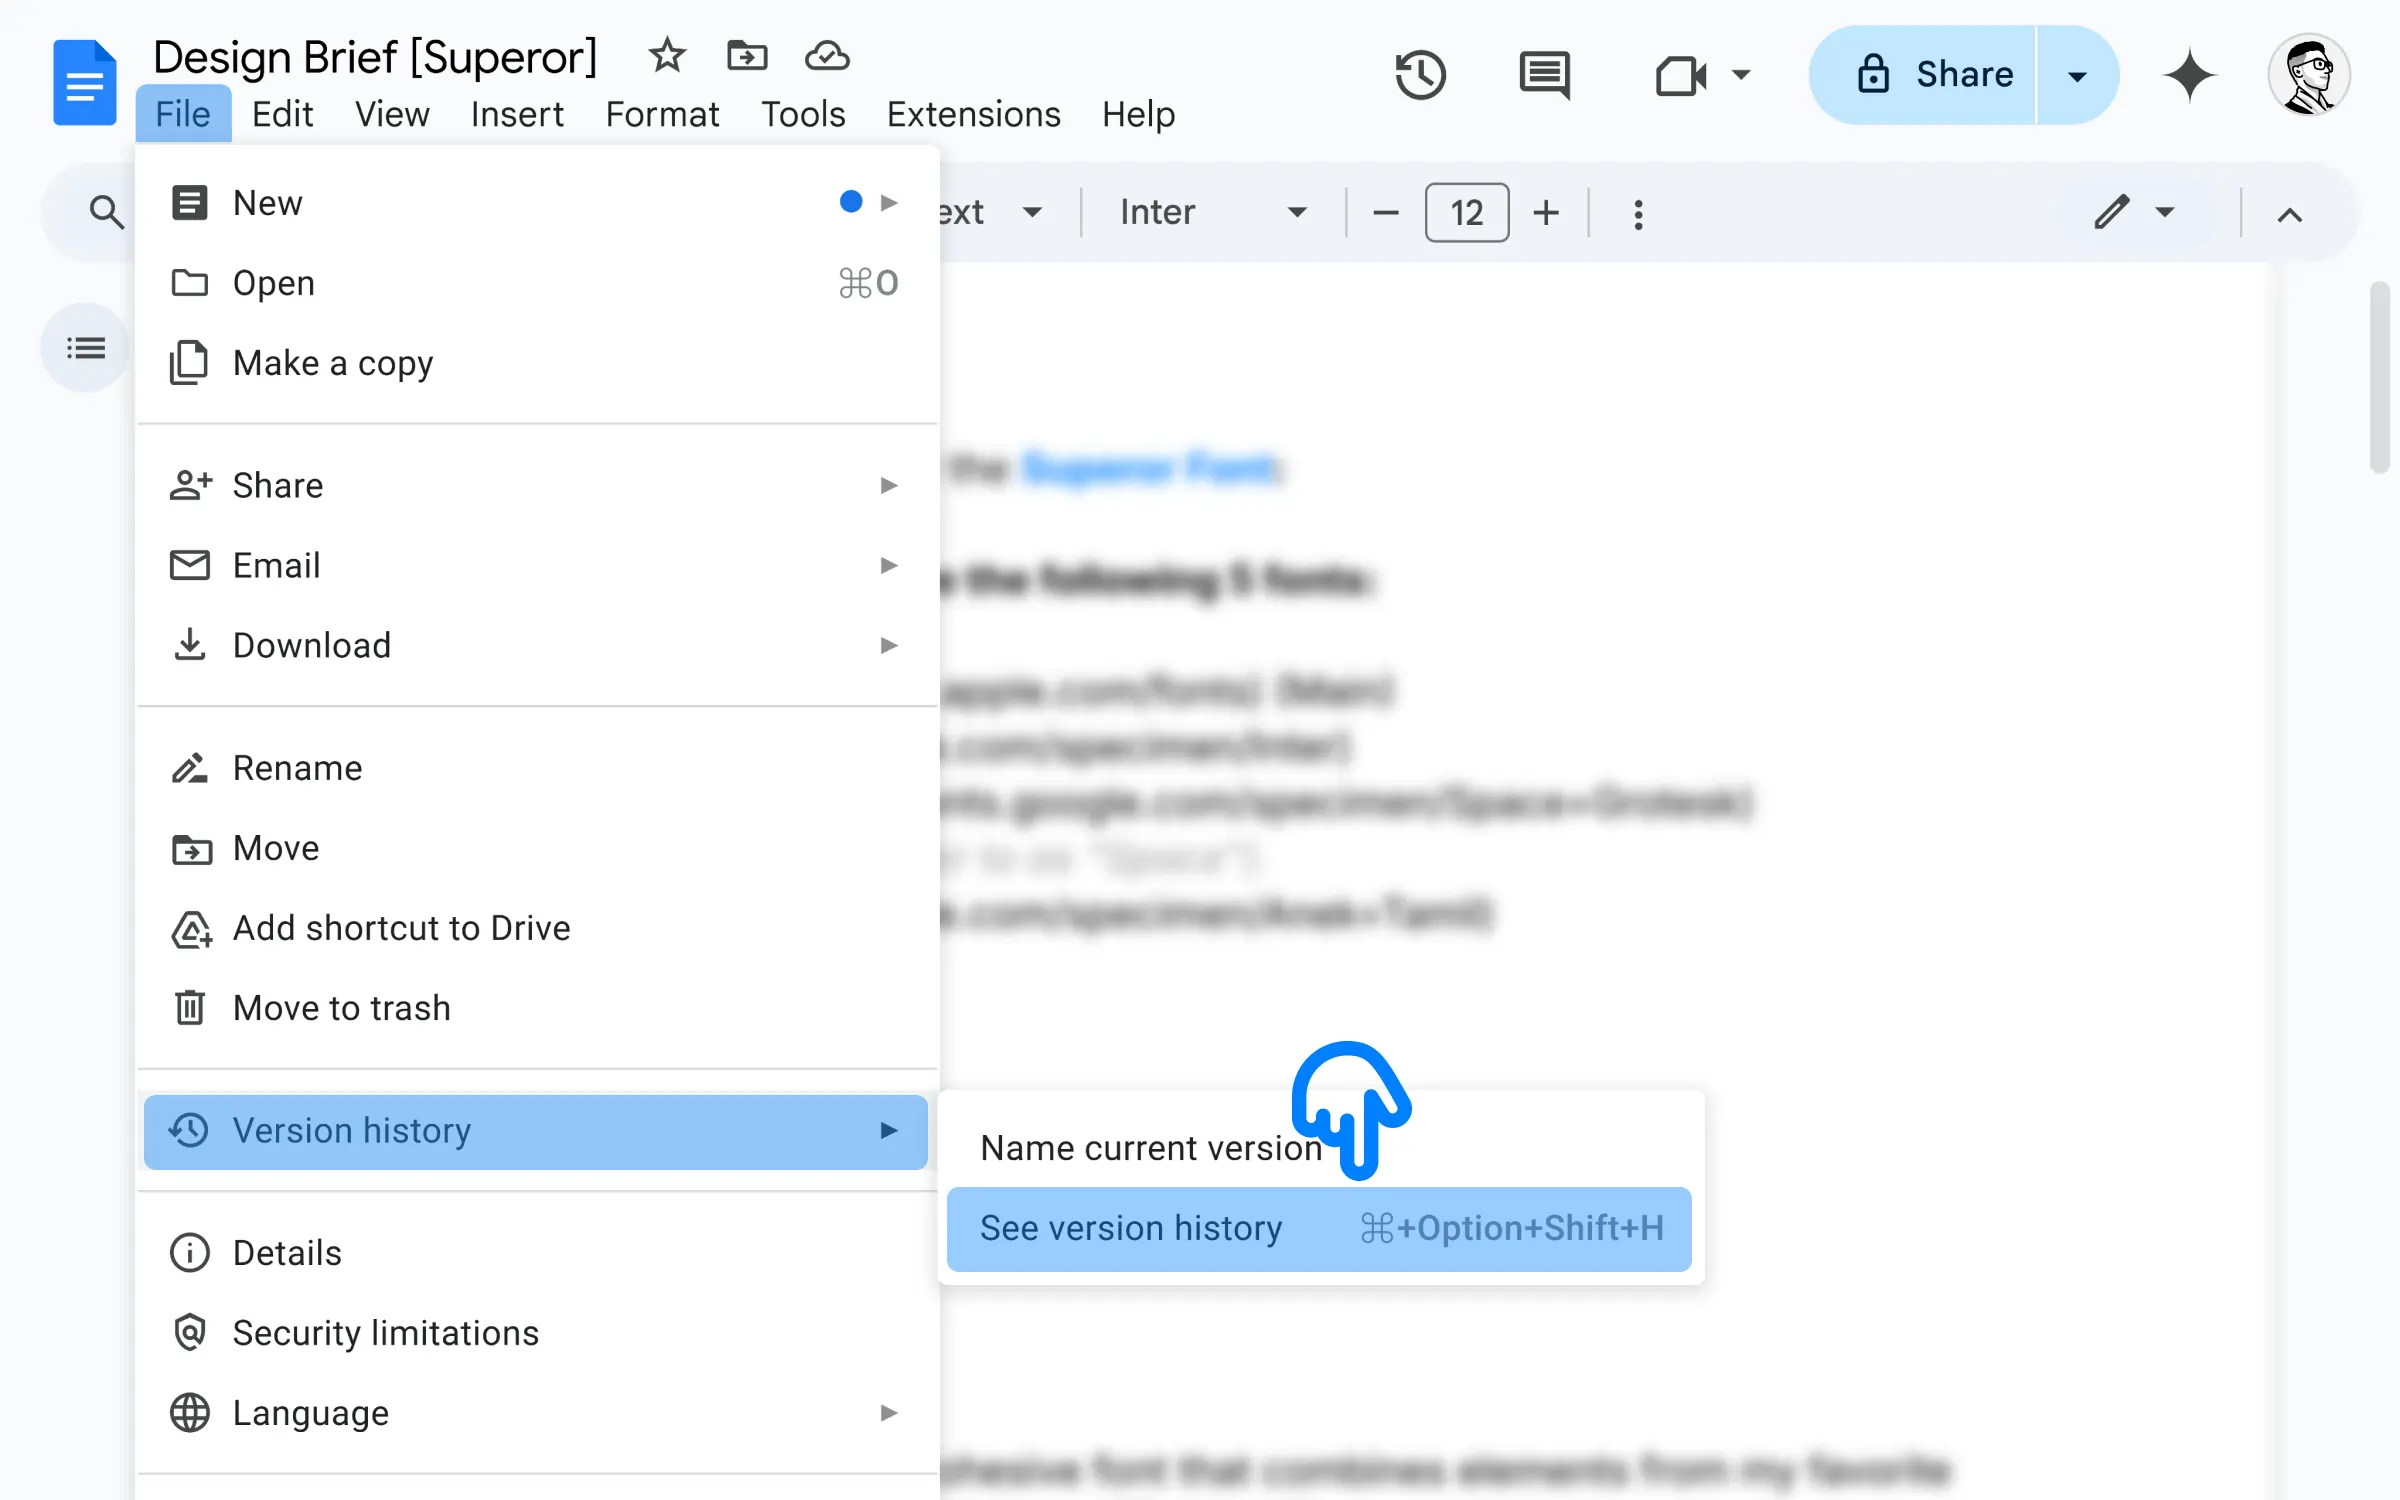
Go to this“File” > “Version history“> “See version history”.
Or press: Ctrl + Alt + Shift + H.
Cmd + Alt + Shift + H if you’re on a Mac.
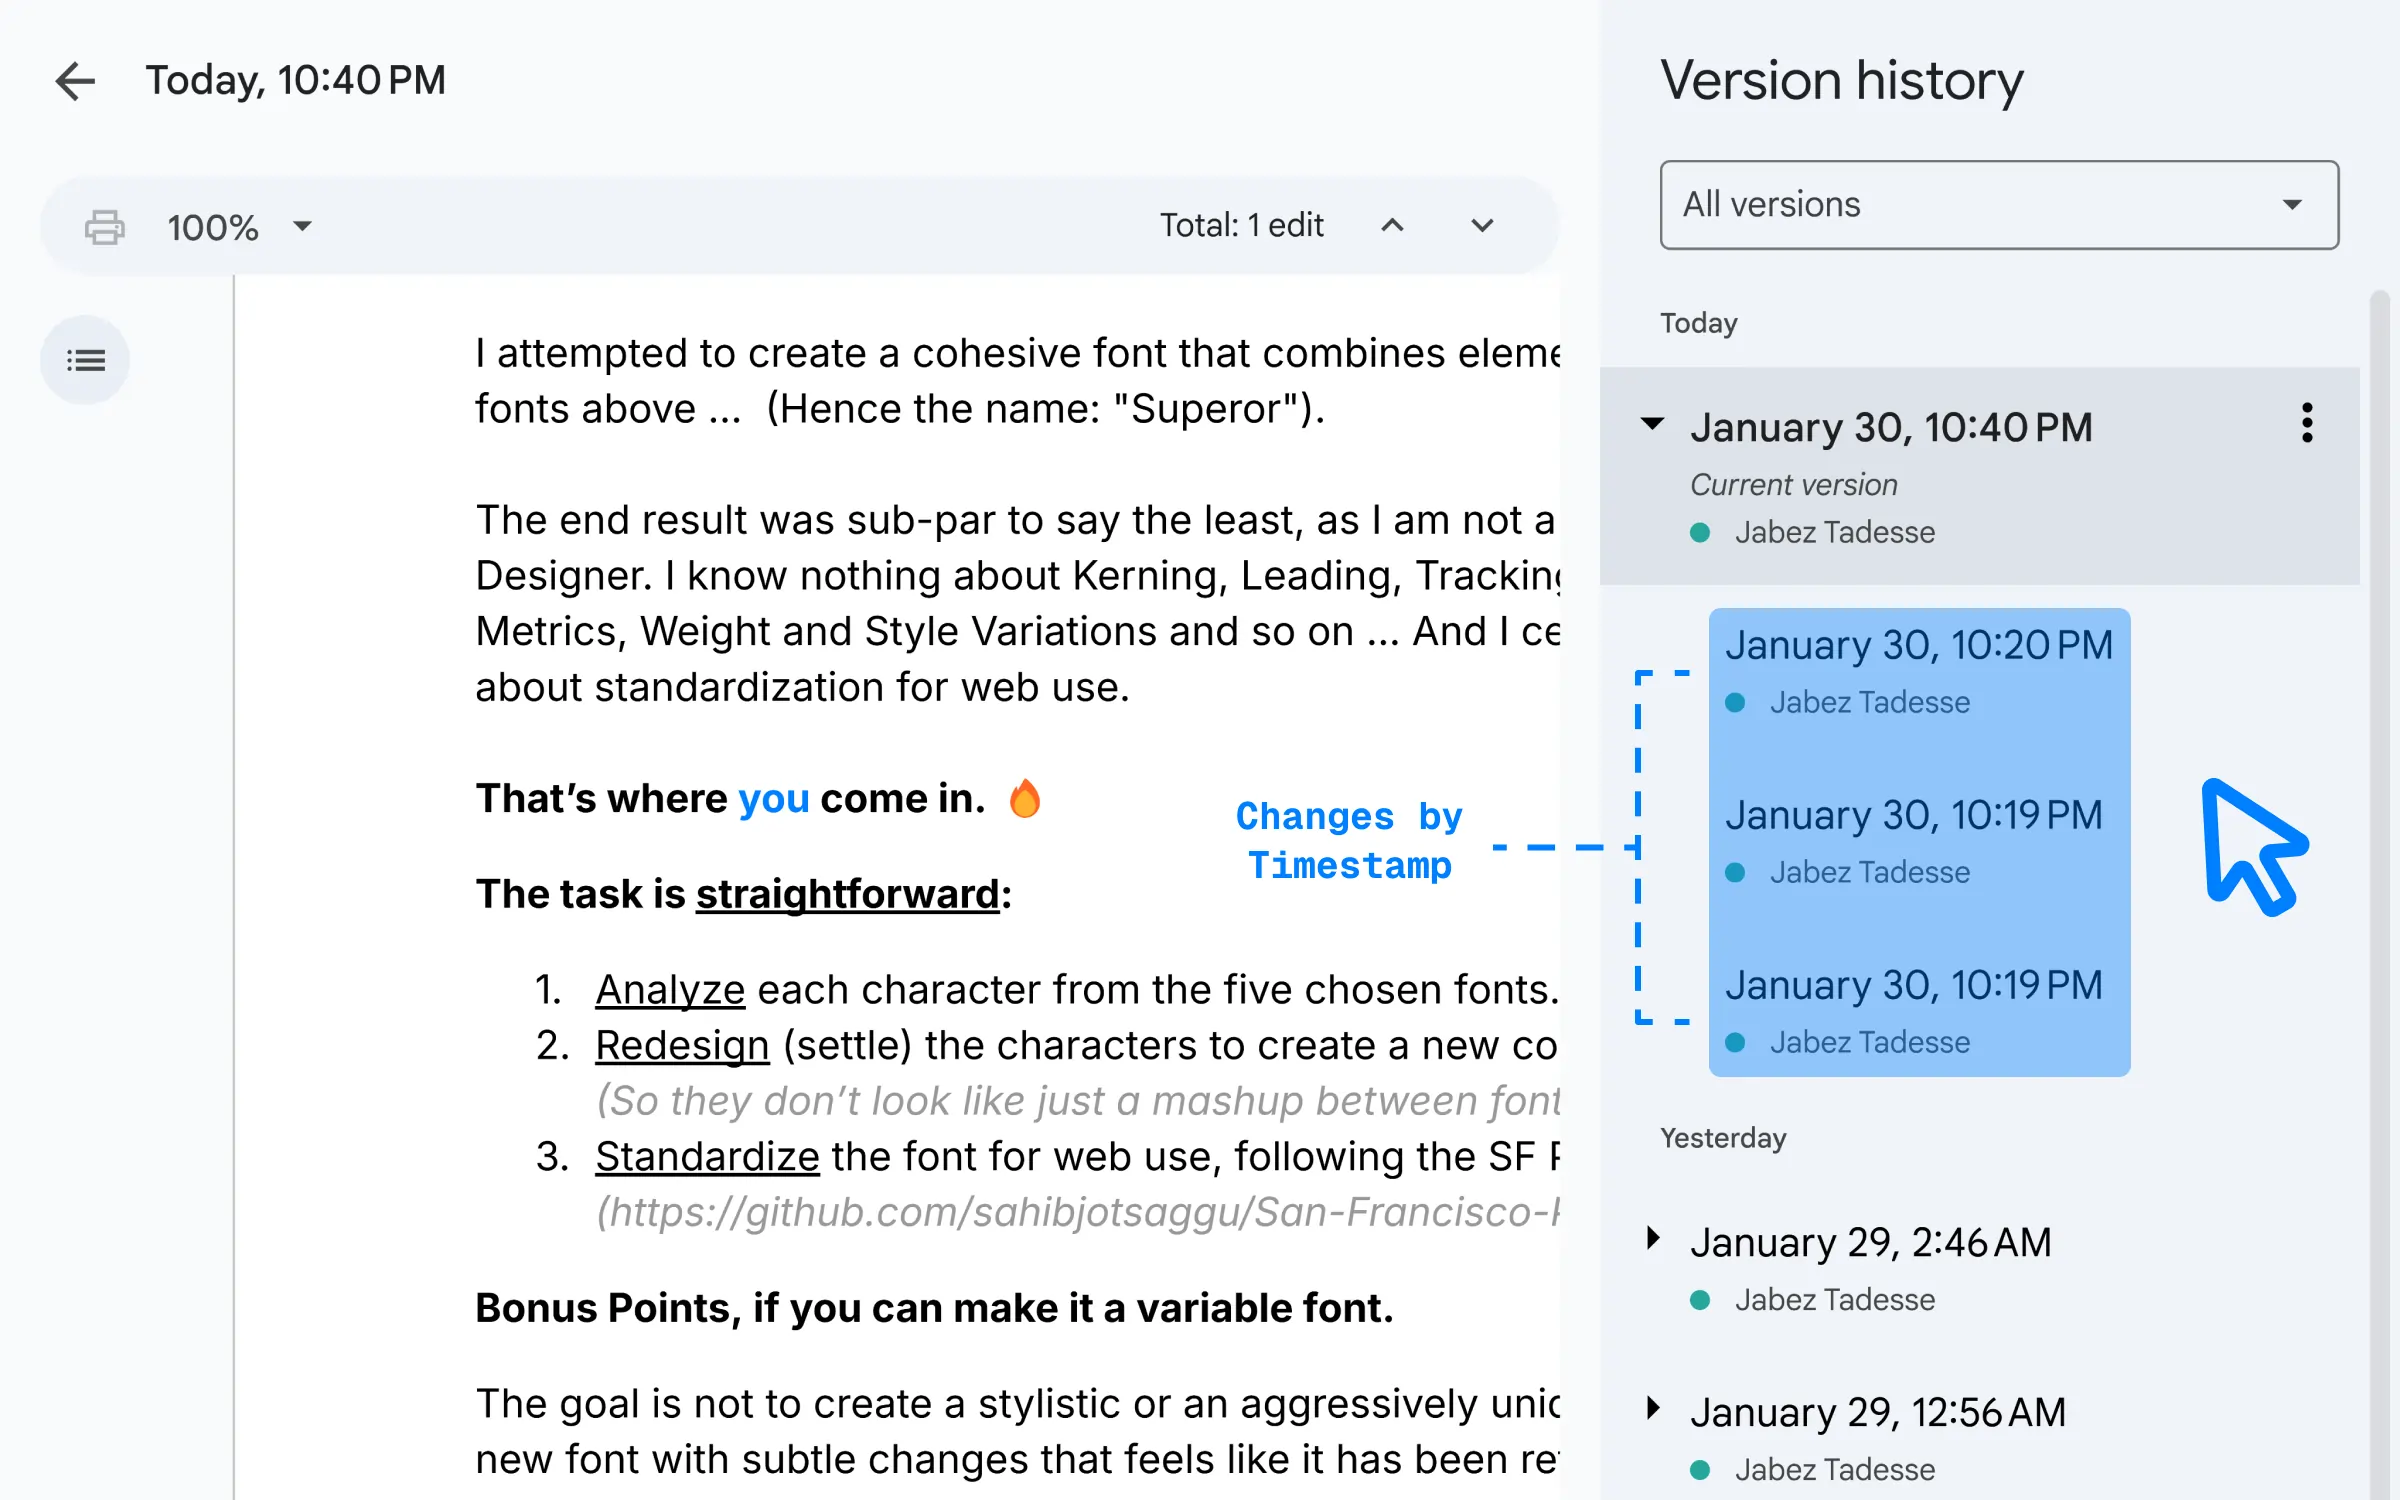
Choose the version you prefer.
This will showcase all the changes made at that specific date and time. (Using your highlight color).
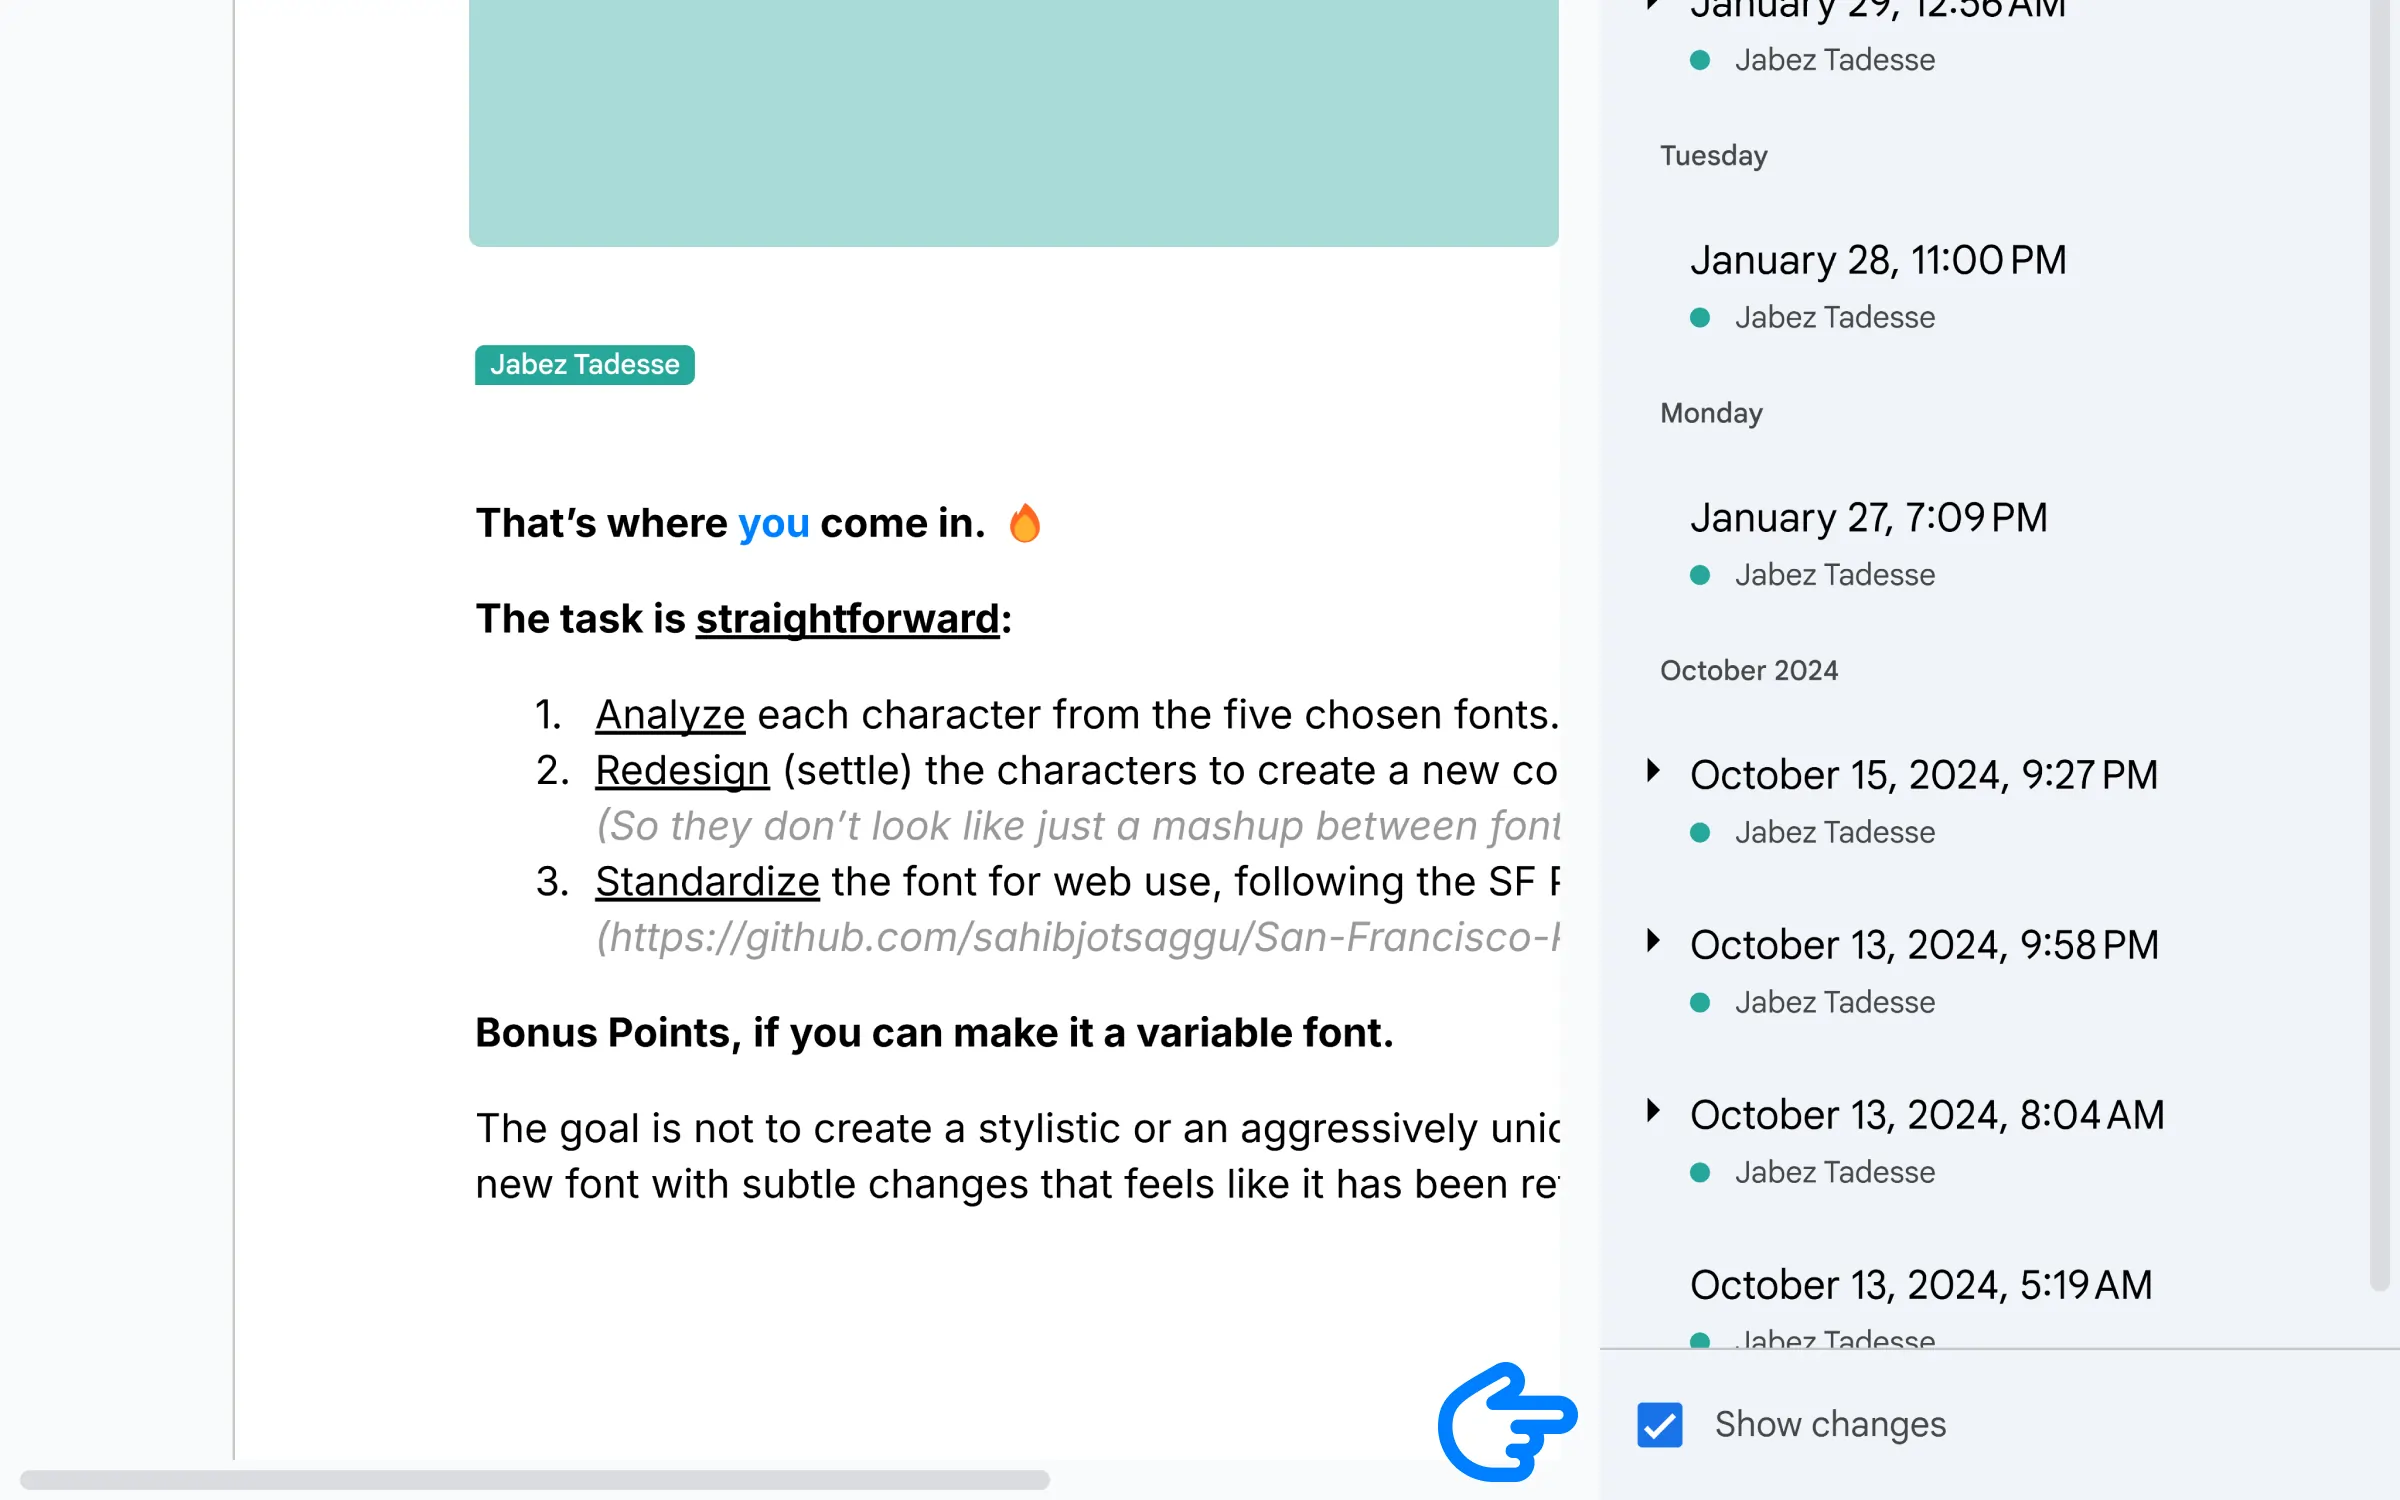
Don’t see the changes highlighted?
Tick the “Show Changes“ checkmark.
Found at the bottom of the sidebar.
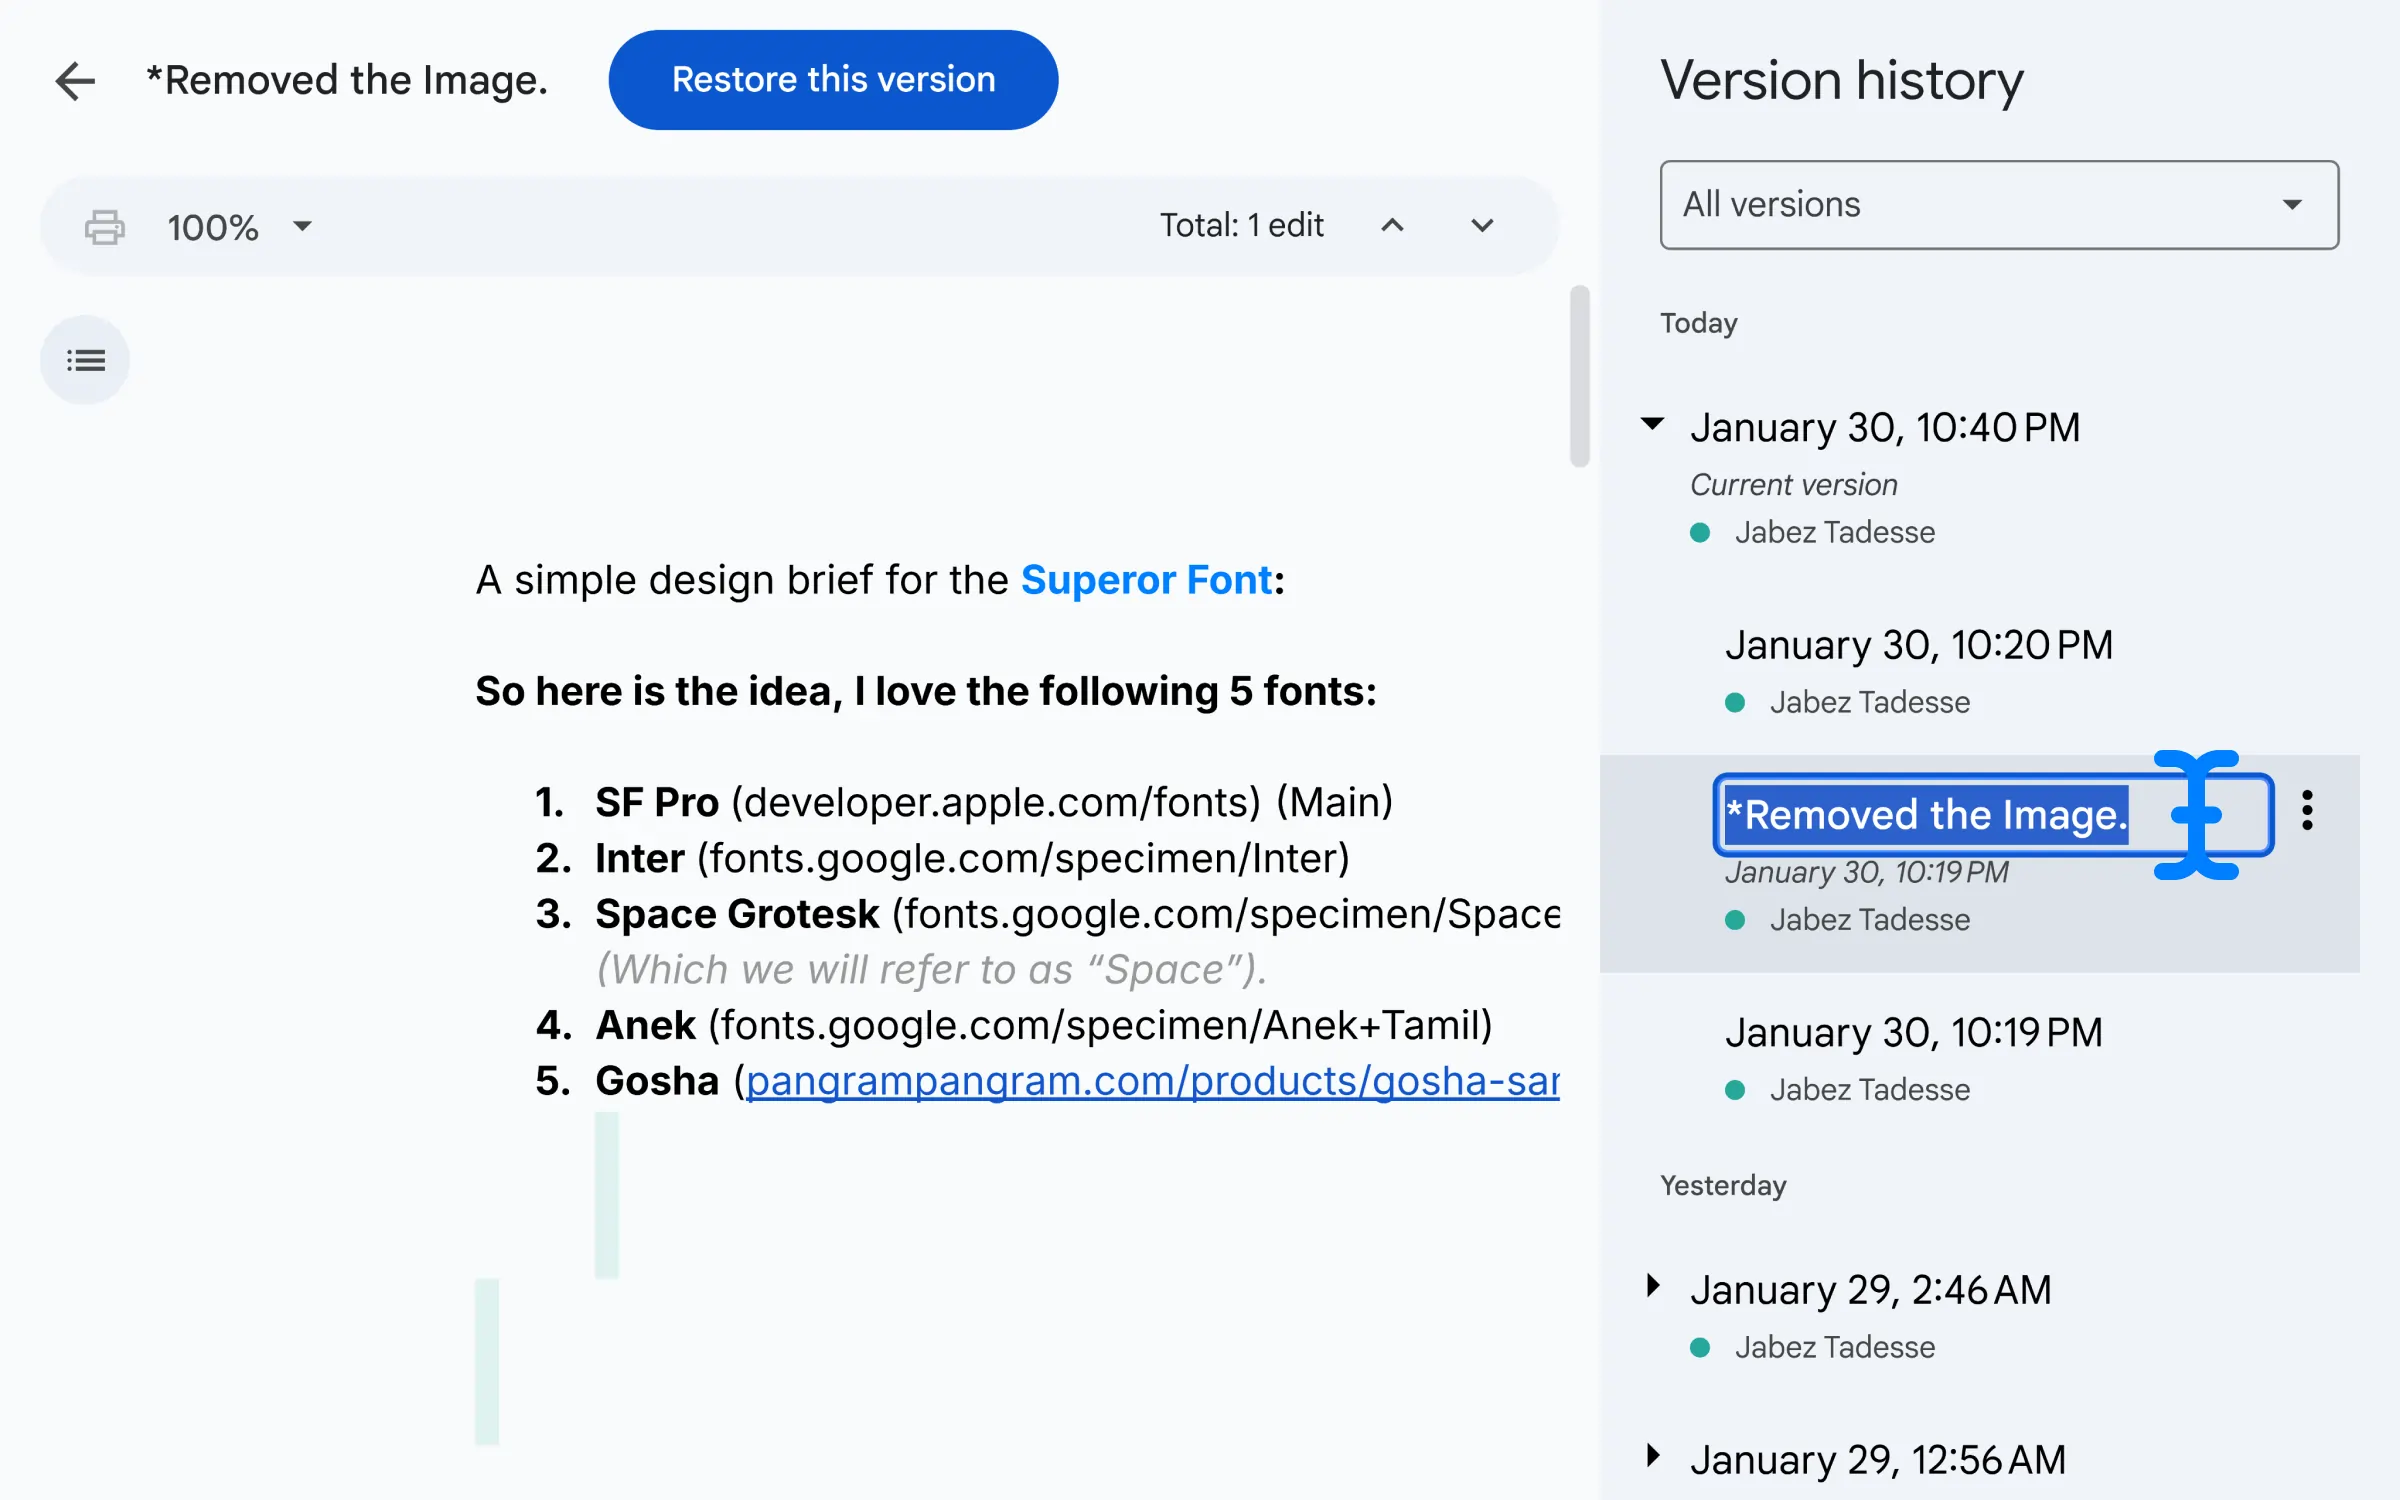
You can expand each view to see individual changes with their respective timestamps. (For example, in my case there were three changes recorded on January 30th).
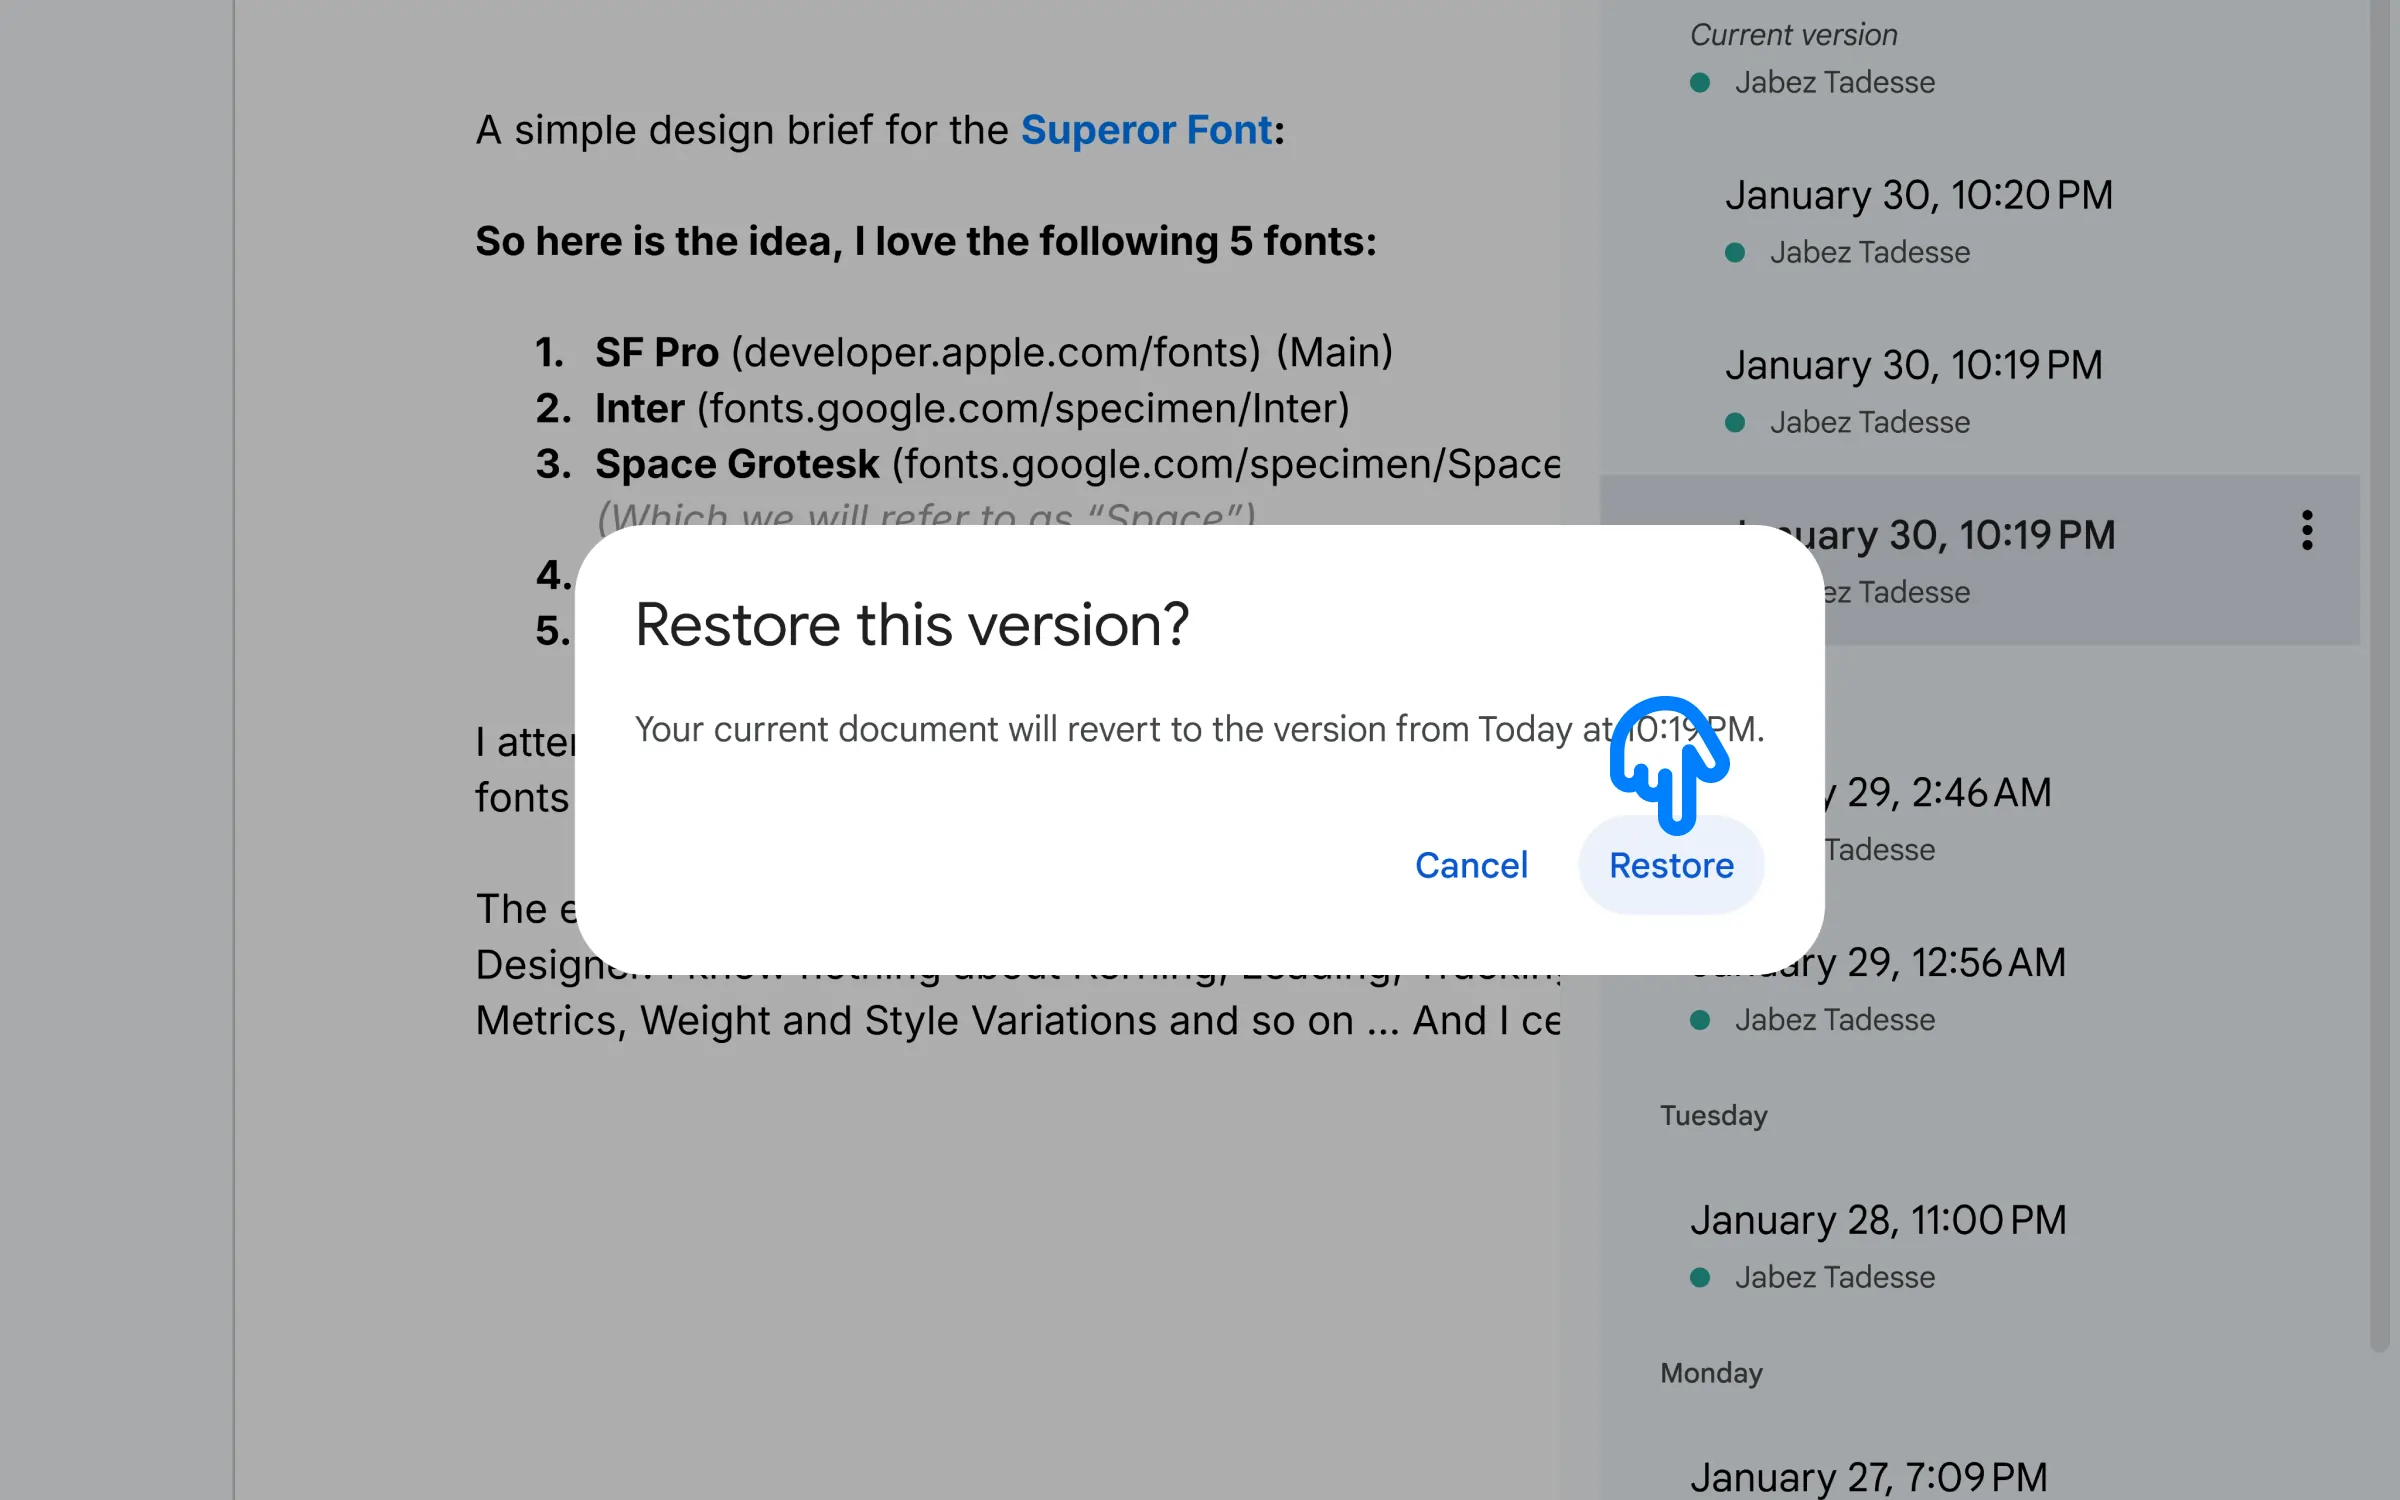
Select the version you like and hit: “Restore this version“.
Confirm Restore.
Piece of cake.
@Author
Incredibly useful feature.
@Reader
How To Name A Version?
Click the three dots (⋮) on any version you want.
Click on “Name this version“.
Name it anything you want …
Restore it like before.
@Author
Things To Know
•••
The edit history timeline in Google Docs uses color-coded bars to distinguish between different types of edits and the collaborators who made them.
Before restoring a previous version, you can preview it to ensure it is correct. Click on the desired edit bar to open a preview.
The edit history feature is particularly beneficial when multiple team members are working on the same document. It helps in avoiding merge conflicts by providing a clear timeline of changes.
Go to the File menu and select Version history, or use the quick keyboard shortcut Ctrl+Alt+Shift+H. This will open a pane on the right side of your screen, showing a timeline of all the edits made to the document.